

【更新于2020 年 3 月 20 日】本文已经更新,使用的是最新版本的声网Agora React Native SDK (v3.1.6)。
在 React Native 应用中添加视频推流功能非常复杂,而且还要在 React Native 视频通话过程中保持低延迟、均衡负载、管理用户事件状态,整个过程非常冗杂。此外,还必须保持应用的跨平台兼容性。
本文会教大家一个更简便的方法。我们将使用声网Agora Video SDK 编写一个 React Native 视频通话应用。在深入探讨 logistic 之前,我们先介绍应用的结构、设置和执行,然后通过几个简单的步骤,只需几分钟就可搭建好一个跨平台的视频通话应用。
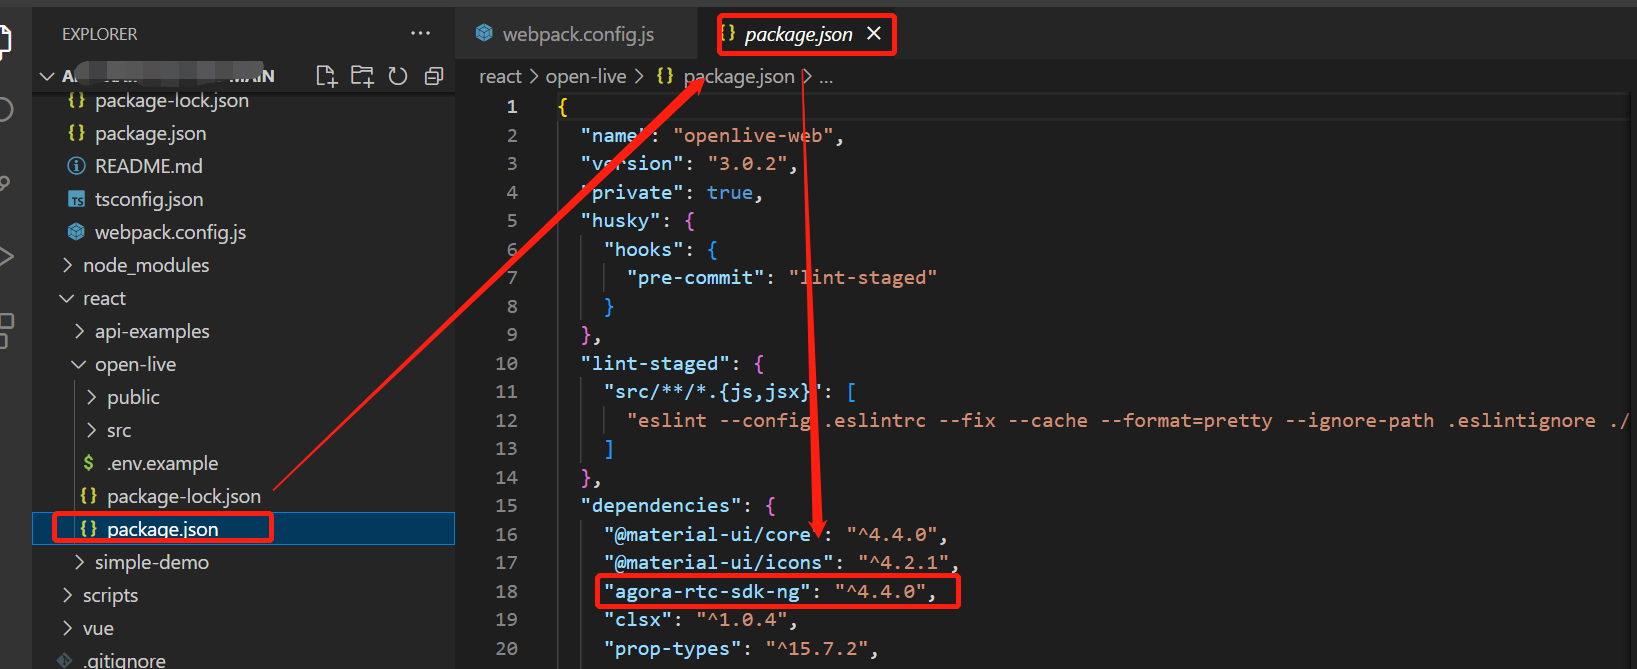
示例中用的是适用于 React Native 的声网Agora RTC SDK v3.1.6。
创建一个声网Agora 账户
点击这里注册并登录。

网站上的项目管理选项卡
找到“Project Management”下的“Project List”选项卡,点击蓝色的“Create”按钮创建项目。(当提示使用App ID + 证书时,选择只使用 App ID。)记住你的 App ID,我们需要用 App ID 在开发应用的过程中授权请求。
注意:本指南没有执行令牌验证,但我建议在生产环境中运行的所有 RTE 应用都采用令牌验证。想了解声网Agora 平台上基于令牌的身份验证的更多信息,请参考本指南:https://docs.agora.io/cn/Video/token?platform=All%20Platforms。
示例结构
这就是我们正在搭建的 React 视频通话应用的结构:
.
├── android
├── components
│ └── Permission.ts
│ └── Style.ts
├── ios
├── App.tsx
.
运行应用
需要安装 NPM 和 Node.js LTS (长期支持版)。
-
注册一个声网Agora 账户,设置一个项目,并生成 App ID。
-
从master branch中下载并解压 ZIP 文件。
-
运行
npm install以安装解压目录中的应用依赖。 -
找到
./App.tsx,输入之前生成的 App ID,作为appId: "<YourAppId>"。 -
如果搭建 iOS 项目,打开终端,执行
cd ios && pod install。 -
连接你的设备,运行
npx react-native run-android/npx react-native run-ios来启动应用程序,搭建并启动应用程序可能需要几分钟。 -
看到手机(或模拟器)上的主屏幕时,点击设备上的开始通话按钮。(iOS 模拟器不支持摄像头,要用外接摄像头代替)。
以上就是搭建自定义 React Native 通话应用的所有操作,我们可以通过此应用与安装这个应用的其他设备进行视频通话。该应用使用 channel-x 作为频道名称。
React Native 视频通话应用的工作原理
App.tsx
此文件包含了视频通话的所有核心逻辑。
import React, {Component} from 'react'
import {Platform, ScrollView, Text, TouchableOpacity, View} from 'react-native'
import RtcEngine, {RtcLocalView, RtcRemoteView, VideoRenderMode} from 'react-native-agora'

import requestCameraAndAudioPermission from './components/Permission'
import styles from './components/Style'

/**
 * @property peerIds Array for storing connected peers
 * @property appId
 * @property channelName Channel Name for the current session
 * @property joinSucceed State variable for storing success
 */
interface State {
    appId: string,
    token: string,
    channelName: string,
    joinSucceed: boolean,
    peerIds: number[],
}

...
首先,写 import 声明,然后,为应用状态定义一个接口,应用状态包含:
-
appId:声网Agora App ID
-
token:为加入频道而生成的令牌
-
channelName:频道名称(同一频道的用户彼此间可以发送消息)
-
joinSucceed:存储是否连接成功的布尔值
-
peerIds:存储频道中其他用户的 UID 的数组
...

export default class App extends Component<Props, State> {
    _engine?: RtcEngine

    constructor(props) {
        super(props)
        this.state = {
            appId: YourAppId,
            token: YourToken,
            channelName: 'channel-x',
            joinSucceed: false,
            peerIds: [],
        }
        if (Platform.OS === 'android') {
            // Request required permissions from Android
            requestCameraAndAudioPermission().then(() => {
                console.log('requested!')
            })
        }
    }

    componentDidMount() {
        this.init()
    }

    /**
     * @name init
     * @description Function to initialize the Rtc Engine, attach event listeners and actions
     */
    init = async () => {
        const {appId} = this.state
        this._engine = await RtcEngine.create(appId)
        await this._engine.enableVideo()

        this._engine.addListener('Warning', (warn) => {
            console.log('Warning', warn)
        })

        this._engine.addListener('Error', (err) => {
            console.log('Error', err)
        })

        this._engine.addListener('UserJoined', (uid, elapsed) => {
            console.log('UserJoined', uid, elapsed)
            // Get current peer IDs
            const {peerIds} = this.state
            // If new user
            if (peerIds.indexOf(uid) === -1) {
                this.setState({
                    // Add peer ID to state array
                    peerIds: [...peerIds, uid]
                })
            }
        })

        this._engine.addListener('UserOffline', (uid, reason) => {
            console.log('UserOffline', uid, reason)
            const {peerIds} = this.state
            this.setState({
                // Remove peer ID from state array
                peerIds: peerIds.filter(id => id !== uid)
            })
        })

        // If Local user joins RTC channel
        this._engine.addListener('JoinChannelSuccess', (channel, uid, elapsed) => {
            console.log('JoinChannelSuccess', channel, uid, elapsed)
            // Set state variable to true
            this.setState({
                joinSucceed: true
            })
        })
    }

...
我们定义了一个基于类的组件:变量 _engine 将存储从声网Agora SDK 导入的 RtcEngine 类实例,我们的通话应用可以调用这个实例中的方法来使用 SDK 的功能。
在构造函数中设置状态变量,获取安卓设备的摄像头和麦克风权限(我们使用了下文的 permission.ts 中的辅助函数)。当组件被挂载时,调用 init 函数,该函数使用 App ID 初始化 RTC 引擎。它还可以调用引擎实例上的 enableVideo 方法来开启视频。(如果省略这一步,SDK 可以在纯音频模式下工作。)
init 函数还为视频通话中的各种事件添加事件监听器。例如,当有用户加入频道时,UserJoined 事件会向我们提供该用户的 UID,我们将该 UID 存储在状态中,用于渲染该用户的视频。
注意:如果在我们加入之前已经有用户连接到频道,那么每个新加入用户都会被触发一个 UserJoined 事件。
   ...
    /**
     * @name startCall
     * @description Function to start the call
     */
    startCall = async () => {
        // Join Channel using null token and channel name
        await this._engine?.joinChannel(this.state.token, this.state.channelName, null, 0)
    }

    /**
     * @name endCall
     * @description Function to end the call
     */
    endCall = async () => {
        await this._engine?.leaveChannel()
        this.setState({peerIds: [], joinSucceed: false})
    }

    render() {
        return (
            <View style={styles.max}>
                <View style={styles.max}>
                    <View style={styles.buttonHolder}>
                        <TouchableOpacity
                            onPress={this.startCall}
                            style={styles.button}>
                            <Text style={styles.buttonText}> Start Call </Text>
                        </TouchableOpacity>
                        <TouchableOpacity
                            onPress={this.endCall}
                            style={styles.button}>
                            <Text style={styles.buttonText}> End Call </Text>
                        </TouchableOpacity>
                    </View>
                    {this._renderVideos()}
                </View>
            </View>
        )
    }

    _renderVideos = () => {
        const {joinSucceed} = this.state
        return joinSucceed ? (
            <View style={styles.fullView}>
                <RtcLocalView.SurfaceView
                    style={styles.max}
                    channelId={this.state.channelName}
                    renderMode={VideoRenderMode.Hidden}/>
                {this._renderRemoteVideos()}
            </View>
        ) : null
    }

    _renderRemoteVideos = () => {
        const {peerIds} = this.state
        return (
            <ScrollView
                style={styles.remoteContainer}
                contentContainerStyle={{paddingHorizontal: 2.5}}
                horizontal={true}>
                {peerIds.map((value, index, array) => {
                    return (
                        <RtcRemoteView.SurfaceView
                            style={styles.remote}
                            uid={value}
                            channelId={this.state.channelName}
                            renderMode={VideoRenderMode.Hidden}
                            zOrderMediaOverlay={true}/>
                    )
                })}
            </ScrollView>
        )
    }
}
接下来是开始和结束视频通话的函数。 joinChannel 方法接收令牌、频道名、选填信息和选填 UID(如果你将 UID 设置为 0,系统会自动为本地用户分配 UID)。
我们还定义了渲染函数,用于显示开始通话按钮、结束通话按钮以及本地和远端用户的视频源。我们定义了 _renderVideos 函数来渲染视频源,使用 peerIds 数组把视频渲染为滚动视图。
为显示本地用户的视频源,我们使用 <RtcLocalView.SurfaceView> 组件,该组件吸收 channelId 和 renderMode 作为道具。连接到同一个 channelId 的用户可以互相通信,renderMode 道具可以把视频放入视图中或缩放视频来填充视图。
我们使用 SDK 中的 <RtcLocalView.SurfaceView> 组件来显示远程用户的视频源,该组件可以获取远端用户的 UID 以及 channelId 和 renderMode 。
Permission.ts
    `import` {PermissionsAndroid} from 'react-native'

    /**
     * @name requestCameraAndAudioPermission
     * @description Function to request permission for Audio and Camera
     */
    export default async function requestCameraAndAudioPermission() {
        try {
            const granted = await PermissionsAndroid.requestMultiple([
                PermissionsAndroid.PERMISSIONS.CAMERA,
                PermissionsAndroid.PERMISSIONS.RECORD_AUDIO,
            ])
            if (
                granted['android.permission.RECORD_AUDIO'] === PermissionsAndroid.RESULTS.GRANTED
                && granted['android.permission.CAMERA'] === PermissionsAndroid.RESULTS.GRANTED
            ) {
                console.log('You can use the cameras & mic')
            } else {
                console.log('Permission denied')
            }
        } catch (err) {
            console.warn(err)
        }
    }
我们导出一个向安卓系统请求摄像头和麦克风权限的函数。
Style.ts
     import {Dimensions, StyleSheet} from 'react-native'

    const dimensions = {
        width: Dimensions.get('window').width,
        height: Dimensions.get('window').height,
    }

    export default StyleSheet.create({
        max: {
            flex: 1,
        },
        buttonHolder: {
            height: 100,
            alignItems: 'center',
            flex: 1,
            flexDirection: 'row',
            justifyContent: 'space-evenly',
        },
        button: {
            paddingHorizontal: 20,
            paddingVertical: 10,
            backgroundColor: '#0093E9',
            borderRadius: 25,
        },
        buttonText: {
            color: '#fff',
        },
        fullView: {
            width: dimensions.width,
            height: dimensions.height - 100,
        },
        remoteContainer: {
            width: '100%',
            height: 150,
            position: 'absolute',
            top: 5
        },
        remote: {
            width: 150,
            height: 150,
            marginHorizontal: 2.5
        },
        noUserText: {
            paddingHorizontal: 10,
            paddingVertical: 5,
            color: '#0093E9',
        },
    })
Style.ts 文件包含了组件的样式数据。
这就是快速搭建一个视频通话应用的方法。如果想了解添加更多功能的方法(比如:把摄像头和麦克风静音、设置视频文件和混音等),可以参考声网Agora React Native API Reference。
获取更多文档、Demo 和技术帮助
- 获取 SDK 开发文档,可访问声网文档中心。
- 如需参考各类场景 Demo,可访问下载中心获取。
- 如遇开发疑难,可访问论坛发帖提问。
- 了解更多教程、RTE 技术干货与技术活动,可访问声网开发者社区。
- 欢迎扫码关注我们。

原文作者:Ekaansh Arora
原文链接:Build a React Native Video Chat/Calling App with Agora